Showing posts with label how to. Show all posts

Tuesday, 19 March 2013

The Stephanie Knight Beauty Haul


Today's post was going to be the I Heart Spring Tag, but then I saw this tweet...


and knew I had to so dedicate today's blog to this beautiful and inspiring young lady.

Stephanie Knight was first diagnosed with cancer when she was just 17 years old. On New Years Day she was told that her condition was terminal, and she started to draw up a bucket list. Items on the list range from, completing her child care qualification, spend a stress free day with family, for her dad to meet the Manchester United team, and to make someone else's cancer experience slightly happier to get through.

This amazing young woman has already raised over £40,000 for the Teenage Cancer Trust, and plans to set up her own charity Steph's Wishes to help teenagers dealing with cancer. 

So what can we do to give back to this exceptionally modest and inspiring young woman?

Fellow Blogger AshlyLondon spotted one thing on Steph's bucket list that us bloggers can definitely help out with!


I'm sure we all have an unopened bottle of polish or two sat lurking in our stash somewhere, even if its just one, or maybe next time your in John Lewis, or Sally's buying some new shades why not buy two bottles, and donate one so we can put a smile on this brave girls face.

If you would like to contribute please email Ashlyrae@hotmail and send your OPI and manicure items by 31st of March for them to be included.

Tweet, Share on Facebook and don't forget the hash tag #SKBH Lets try and get as many bloggers to see this as possible!! Add the banner to your blog or facebook page, and please don't forget Steph the next time your at the checkout.


Don't forget your discount codes: 

LenaWhite.com has 20% off with code "LUXE20" and free p&p on all orders over £15 
Sally's Beauty has 20% off all OPI polishes instore until 31st March.

Don't forget to add a polish to your basket for Steph. x

Sunday, 17 March 2013

The Luck of the Irish

Happy St Paddy's Day!!

I hope you all haven't had one too many pints of Guinness just yet! because fist I would like to share with you all my St Paddy's day inspired manicure.


I received these two green Essie polishes for my Birthday, just in time for St Paddy's Day. This is Essie Mojito Madness and Essie Mint Candy Apple. I just love them <3 glamour="" glitter="" gold="" he="" inc="" is="" nails="" nbsp="" p="" topcoat.="">


Essie Mojito Madness 


Wednesday, 2 January 2013

La Luna

I love creating ruffian manicures using my favourite jewel tone colours. This manicure is no exception.


Ruffian manicures, inspired by a half moon shape are a quick and simple way to add an accent colour to your nails, I prefer gold and silver polishes for this, but any metallic colour will look fab!


P1110369_zps0a68911d


For today's ruffian, inspired by the moon, I chose a base colour of Cheers To You from China Glaze, a beautiful silver foil, and the top colour is OPI's Yoga-ta Get This Blue. YGTB was released with OPI's India Collection in 2008 and is a vibrant mix of navy and royal blue. If you want a navy that still looks blue and not black, Yoga-ta Get This Blue (really)!!


P1110383_zpsd1d5fd2a


P1110378_zps7bc1571e

Tuesday, 30 October 2012

Trick or Treat! Pumpkin Soup

So after making the delicious Pumpkin, Cheese and Chive muffins, I was still left with a lot of pumpkin that I didn't want to waste. So I decided to try making pumpkin soup :)


You will need ...

1 1/2 kg of Pumpkin, peeled and cubed (for a handy how to video click here)
1 Onion, sliced,
50g Butter, 
2 Garlic Cloves, peeled,
1 ltr Chicken stock,
1 ltr Water,
2tbsp Creme Fresh or double creme,
1 pinch or nutmeg,
1 pinch of cinnamon,
1tbsp Olive Oil,
2 tbsp Maple syrup,
Salt and Pepper.

I chose not to make the croutons, but if you want to you will need ...

2 Slices whole grain bread, cut into cubes,
1sp sugar


Heres the recipe I followed in the handy form of a video ...


Delicious!

Monday, 29 October 2012

Trick or Treat! Peanut Butter Cookies

Todays treat is Peanut Butter Cookies.  This was my first time making this American classic recipe and I was so happy with how they turned out! they are delicious.


Heres what you will need for this recipe:
3/4 cup butter at room temerature,
1/2 cup light brown sugar,
1/2 cup caster sugar,
1 large egg,
1 tsp vanilla extract,
3/4 cup peanut butter,
2 cups plain flour,
1/2 tsp Bicarbanate of soda,
A pinch of salt,
Chocolate chips (optional).

Lets get started!


Into a bowl add the butter and sofen with a hand mixer.


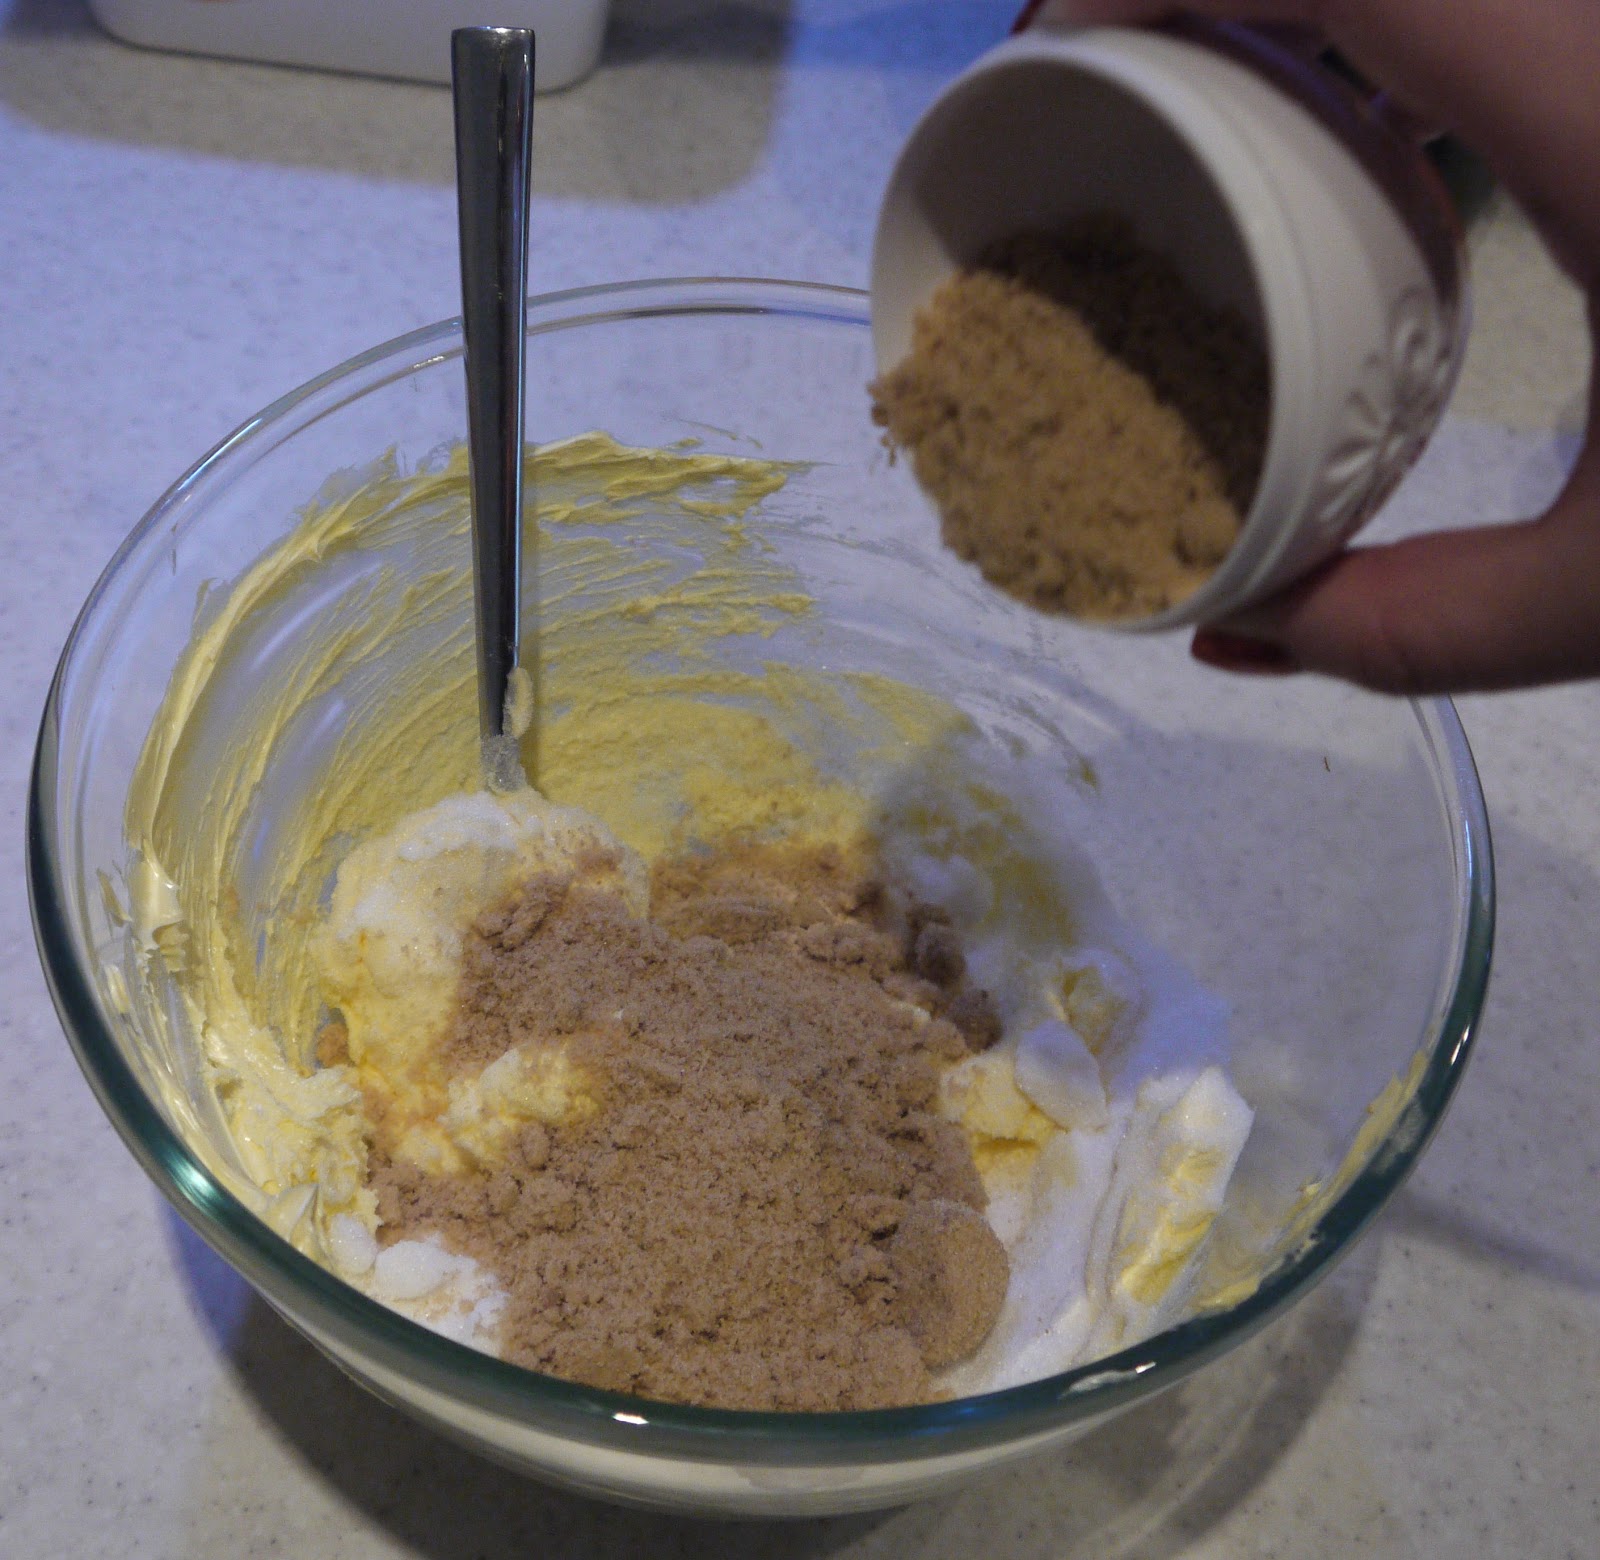
Add to the butter the light brown sugar and the caster sugar, beat together with a hand mixer until light a fluffy.


Add in the peanut butter, you can use smooth or crunchy, whichever you prefer. Mix until fully combined.


Beat in the egg and vanilla extract.


In a sperate bowl, mix together the flour, salt and bicarb. 


Add the flour mixture to the butter and mix until it forms a dough.


I am going to make half a batch choc chip. If you want to do this separate the dough into two bowls and add the chocolate chips to one half of the dough


Chill both doughs in the fridge for 2-3 hours, or overnight.


Preheat oven to 180o and line a baking sheet with baking parchment.

Roll your cookie dough into balls approx 2.5 cm and place on the baking parchment.


Take a fork to and press into each dough ball, turn the fork 90o and press into the dough ball again. There we have our cookies!


Bake for 10-12 minutes, take out of the oven and leave to cool.


Eat immediately! Yummy!

Let me know if you try this recipe!

xoxo


Trick or Treat?! How to Remove Glitter Polish

Everyone should be able to enjoy wearing glitter nail polish at this festive time of year without being afraid of the removal process. Today I am going to show you a quick, easy and efficient removal method, using household items that everybody should have to hand.


Photobucket


You will need:
Nail Polish Remover
Cotton Wool
Kitchen Foil

and that's all you'll need!

Fist we will need to tear off 10 equal squares of kitchen foil, they need to be large enough to wrap around your finger nail and accommodate the cotton wool.

Next you will need to saturate your cotton wool in nail polish remover, I am using Cutex Moisture Guard with nail whitening formula. This is the one I like, any will do, but I find this one quick and easy to work with. I am also using balls of cotton wool instead of the pads as I find these soak up the polish remover better.

Lay the cotton wool in the middle of the foil, place your nail over the cotton wool and wrap around your finger, ensuring a tight as possible seal to prevent the nail varnish seeping out.

Photobucket


When you have wrapped all 10 fingers, relax ....

and do the robot!

Photobucket


Leave for about 2 minutes, then carefully, without tearing or ripping the foil, rub the cotton wool over your nails, if it moves with ease it is ready to be removed, if not leave for a further minute and try again.

Hey Presto! Glitter free nails!

I hope this was helpful to some of you! enjoy your festive glitter nails!

xoxo

Saturday, 27 October 2012

#OrangeOctober Glitter Nails

#OrangeOctober Day 27


Today I have for you something a little bit different for #OrangeOctober: A tutorial!

P1100497


I have been wanting to try Gosh nail glitter for the longest time now, but never wanted to pay the nearly £5 price tag. So I finally broke down and hit ebay.co.uk were there are lots of sellers offering nail and body glitter for far less. I don't know just how safe they are, so I won't recommend any sellers to you just incase. If you are unsure I'd recommend paying the extra for the Gosh glitter, or a fine craft glitter I'm sure would be fine.

Heres what you will need to get orange glitter nails :)

A good quality base coat
Your favourite orange nail polish. I'm using Barry M Block Orange
Your orange glitter
A shiny top coat
A rubber cuticle pusher or an orange stick
Piece of paper or kitchen towel

I started by applying my base coat (OPI natural base coat) and one coat my orange polish...


P1100468


Place your hand over your paper or kitchen towel and apply your second coat of your chosen orange polish,  wait 30 seconds for the polish to go a little tacky and pour over the glitter (this is where it gets a little messy).


P1100470


P1100472


Tap off any excess glitter, don't worry about any stray glitter pieces around your cuticles, we will tidy that up later. Pick up your paper by two opposite corners to make a funnel and pour the glitter back into its container and secure the lid.


P1100473


Phew! thats the messy bit finished.

Allow the polish to dry, and using your cuticle pusher or orange stick tidy away any glitter on your cuticles. Apply 1 generous coat of top coat.


P1100475


As you can see the glitter will still look gritty.

Wait a couple on minutes and apply a second layer of top coat. You can repeat this step as many times as you like/need to reduce the roughness of the glitter.


P1100479


So there we have Orange Glitter Nails :)

xoxo