Saturday 14 April 2012

Gingham Nails 2.0

P1080353
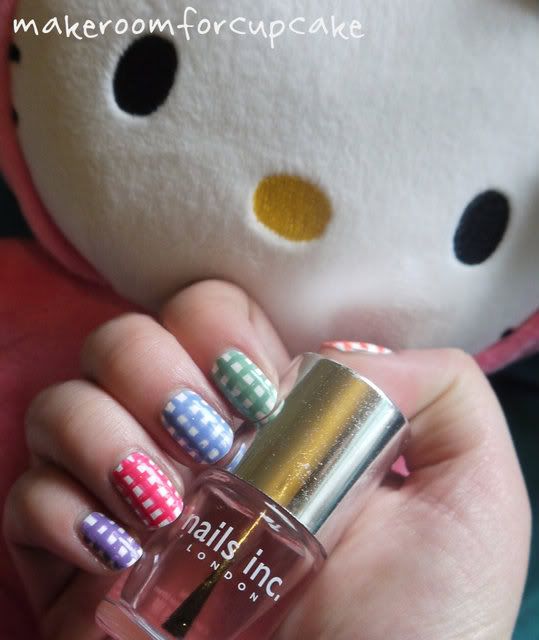
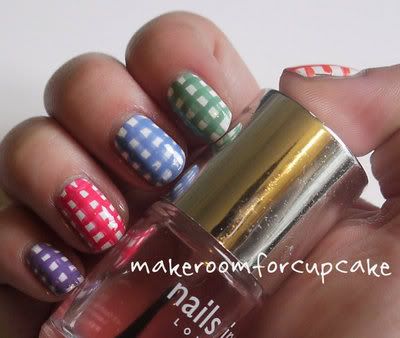
I have once again been inspired by Wah Nails to attempt gingham nails. I wasn't happy with my attempt last year using ribbon, so this time I decided to paint it all by hand.

What do you think to the results?

P1080351

The colours I used were Alpine Snow for the base colour, Planks a lot, Strawberry Magarita, Lapis of Luxury, Mermaids Tears and Flit A Bit.

I really wish I had more jellie fomulas to try to get the build up in colour better like real gingham.

xoxo


Friday 13 April 2012

Barry M Magnetic Blue

P1080373

*sigh* I am in love.

Barry M has long been the king of inexpensive manicures, so when I saw the newest addition to the nail paints range in Superdrug I couldn't resist.

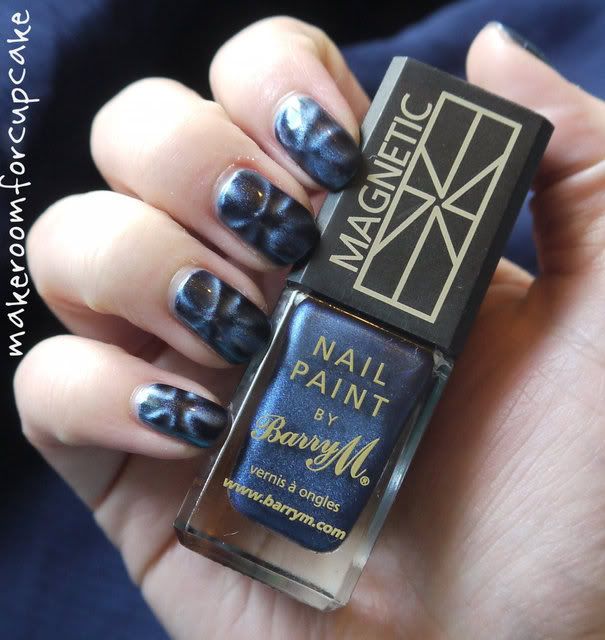
This is NP 328 Magnetic Blue (another original name, just like Boots 17)

P1080376

The directions are really simple, so even if you haven't used a magnetic nail varnish before you will be sure to pick it up and get results.

The bottle says to shake well before use, which I don't like to do because I have been told its not good for your polish and it will cause it to dry out prematurely (not sure how much truth there is in that statement, if you do, please leave a comment below). So I like to roll the bottle between both my hands. You do need to do this to ensure the magnetic particles are evenly distributed and not all stuck at the bottom.

Then Barry says to apply one coat of polish, and allow to dry. Now I don't like to disagree with Barry for a second time ... but I personally feel you could skip this step as the polish gives good coverage and pigmentation in just one coat.

But for the swatches I was good and followed the instructions.

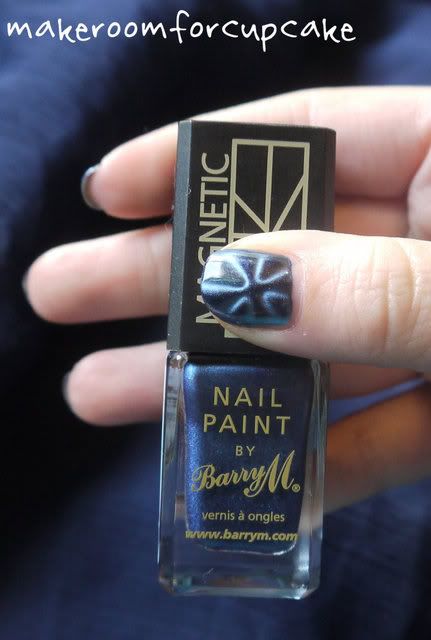
Now for the fun part, apply another coat of polish and immediately hover the magnet (supplied) over your freshly painted nail, until the effect appears, Barry suggests 5 seconds should be long enough.

I did my thumb nail first, and the result was amazing! then it got a bit too excited and rushed the rest of my nails, but overall I think the effect is awesome and even though I messed up a little, I kinda think it looks like tie dye :)

P1080376

What I liked:
  • Barry M have stayed true to their brand, so when the magnet is removed it reveals the normal Barry M bottle
  • The price! I bought this bottle in Superdrug for a modest £4.99
  • The different magnetic patterns, I know I'm fed up with the bog standard waves (here's talking to you Boots 17 and Nails Inc
  • The colour range - theres actually a red! can't wait to try it out!!

What I didn't like:

  • I'd maybe like to see more of a colour range than the standard purple, blue, grey and green we have seen everywhere, how about a bright metallic turquoise for the summer, or a pretty gold??
  • Nope, can't think of anything else

Are you going to be trying out the new range from Barry M?

I can't find the magnetic nail paints on the Barry M website yet but be sure to grap a bottle if you see them in your local shops!

xoxo
NOTD - Polka Dot Refresh

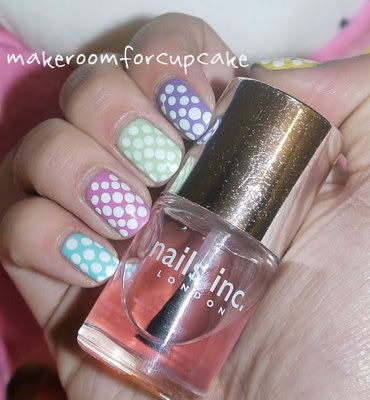
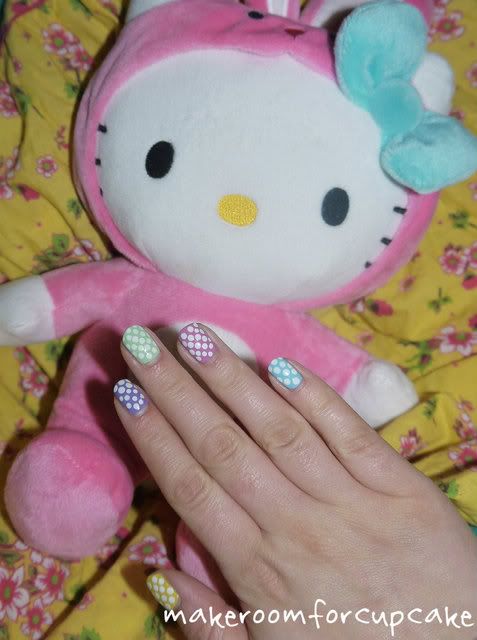
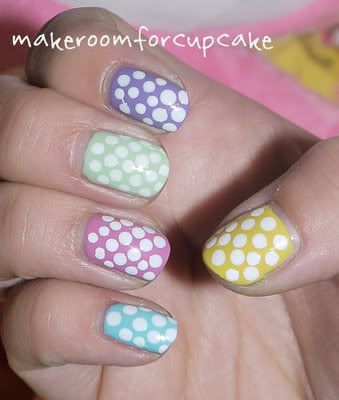
I love my Candy Nails so much I couldn't take them off! so instead I decided to do a little refresh and add some polka dots! This would be such a cute manicure for Easter I just love it!

P1080347

P1080348

I think I'm going polka dot crazy! painting my nails polka dot and listening to ...


P1080350

If you want to see what colours I used you can check out my previous Easter manicure post but I think this would work with almost any colours you like, I just prefer pastels for the spring.

Saturday 7 April 2012

Easter Manicures - Candy Nails

_1080336

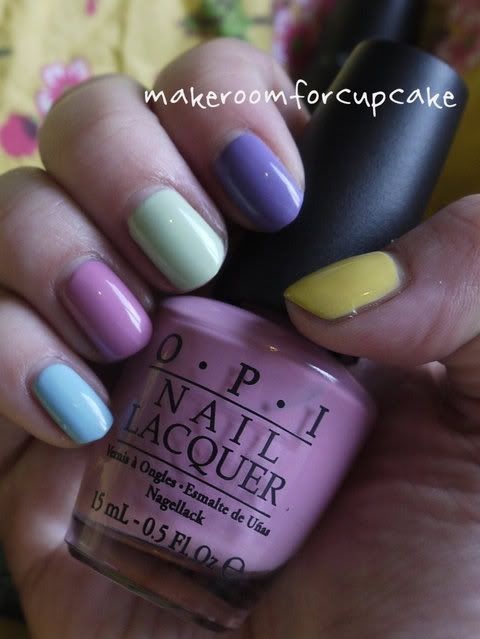
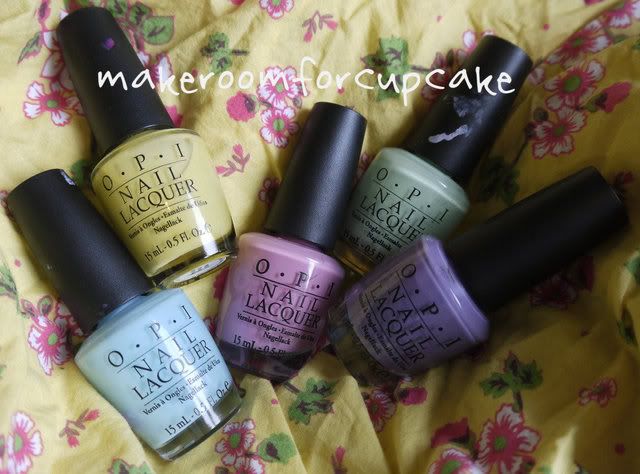
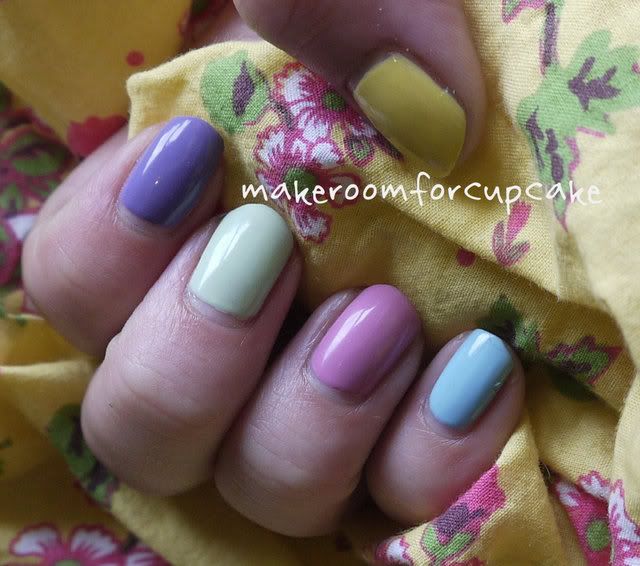
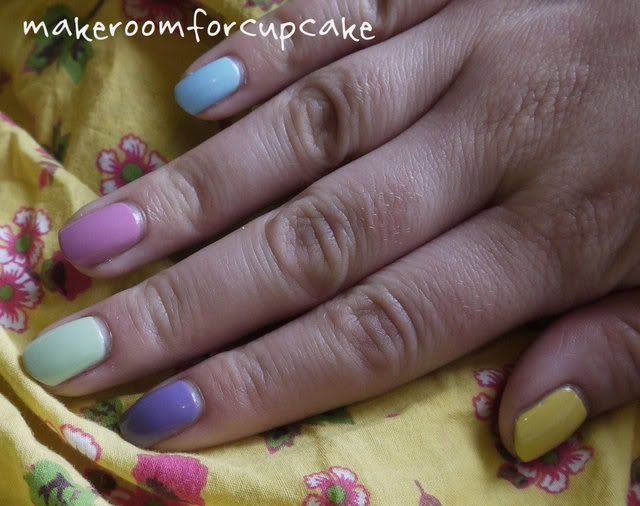
We all know that OPI is by far my favourite nail polish brand, so it was no surprise at all when I wanted to create this candy nails look that I turned to my OPI stash for my favourite pastel shades.

I do feel obliged however to give Barry M an honourable mention, they do great pastel colours and their Ice Cream collection would have been perfect, and if you live in the UK the 2.99 price tag is so affordable. But for this quick mani, I wanted polishes that I knew would apply easily, so sorry Barry M but your 4 coat formulas lost this one.

_1080332

The colours I chose to use are (L-R) Whats With The Cattitude, Fiercely Fiona, Sparrow Me the Drama, Gargantuan Green Grape, and Planks A lot. and all were 3 coats.

_1080341

_1080344

Friday 6 April 2012

Baking with Makeroomforcupcake: Easter Egg Nests

As you could probably all guess by the name of my blog, I love cupcakes, baking cupcakes, eating cupcakes, all of the above. Baking for me is fun and I love to bake for my friends and family or just anyone! I can't wait for someone in our family to have a baby so I can have an excuse to make some really cute birthday cakes!!

I just love cupcakes! So I thought I would share the love with all of you guys!

P1080328

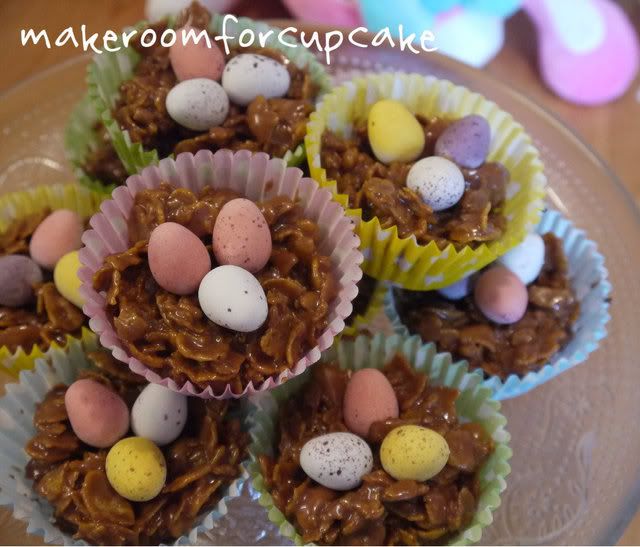
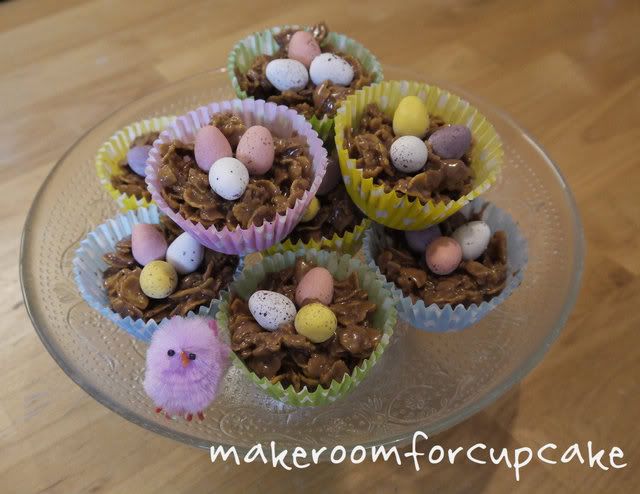
To kick things off I thought I would start with a super easy recipe, something maybe you could make with children as a really fun Easter treat! (I wouldn't suggest this treat too often, you will see what I mean when you see the ingredients ... Yikes)!

Easter Egg Nests.
(makes 12)

Ingredients
6 Mars Bars chopped
6 oz Butter
4 1/2 oz Corn Flakes (you can use rice crispies or even shredded wheat if you want a more authentic "nest look to your cakes)
Mini Eggs (for decoration)
Cute Cupcake Cases

1. In a Bain-marie melt the chopped Mars bars and butter and stir until all ingredients have melted and well combined. Don't worry if you don't have a Bain-marie, a simple alternative is to use a Pyrex bowl over a saucepan of simmering water, don't let the water touch the bowel though!

Photobucket

Don't worry if your mixture looks like it has curdled! this is normal. keep stirring or switch to using a whisk to help everything combine.

Photobucket

2. Remove your chocolate mixture from the heat and stir in your cornflakes until all are even coated with chocolate.

Photobucket

Photobucket

3. Spoon your mixture into the cupcake cases. I like to keep the cupcake cases in a bun tin, even though this recipe doesn't call for baking the mixture, it will help the cakes to keep their shape.

Photobucket

4. When all the mixture is evenly distributed, place three mini eggs in the centre of each one.

Photobucket

5. Allow to cool overnight in the refridgerator. This is the hardest bit! waiting to eat them!!

_1080313


Let me know if you have tried this fun and easy Easter treat recipe! and don't forget you can share photos on makeroomforcupcake fb

Happy Easter :)

http://test.skimlinks.com

xoxo