#OrangeOctober Day 27
Today I have for you something a little bit different for #OrangeOctober: A tutorial!
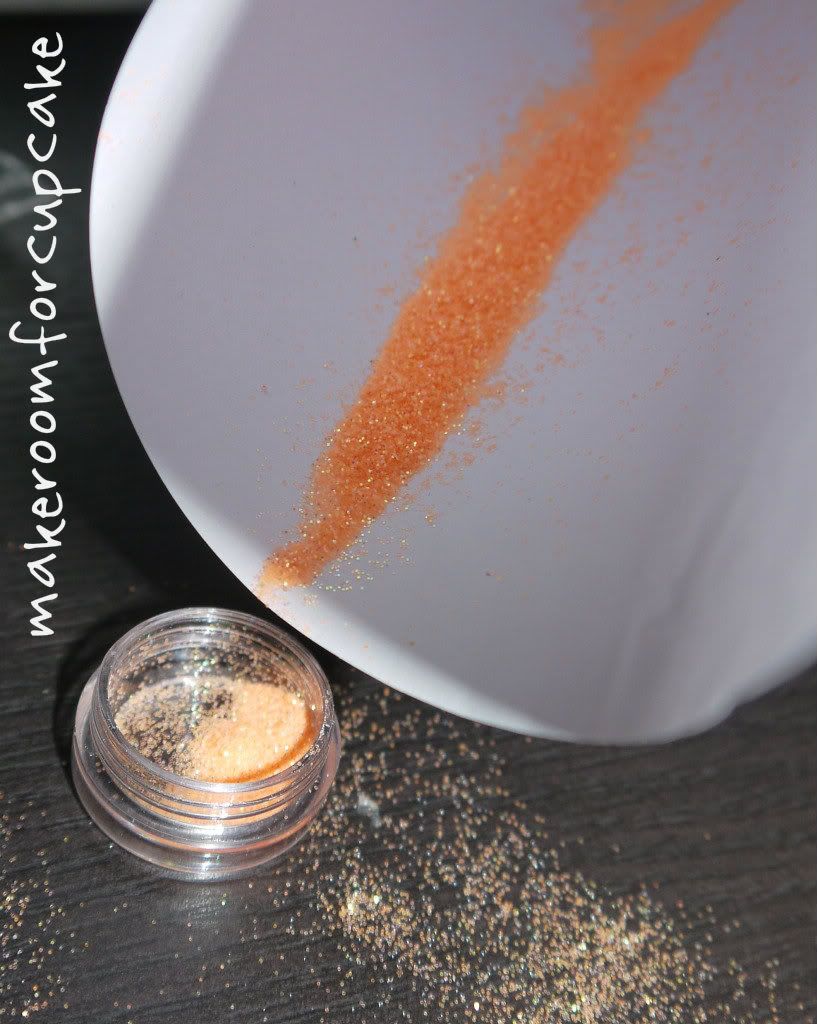
I have been wanting to try Gosh nail glitter for the longest time now, but never wanted to pay the nearly £5 price tag. So I finally broke down and hit ebay.co.uk were there are lots of sellers offering nail and body glitter for far less. I don't know just how safe they are, so I won't recommend any sellers to you just incase. If you are unsure I'd recommend paying the extra for the Gosh glitter, or a fine craft glitter I'm sure would be fine.
Heres what you will need to get orange glitter nails :)
A good quality base coat
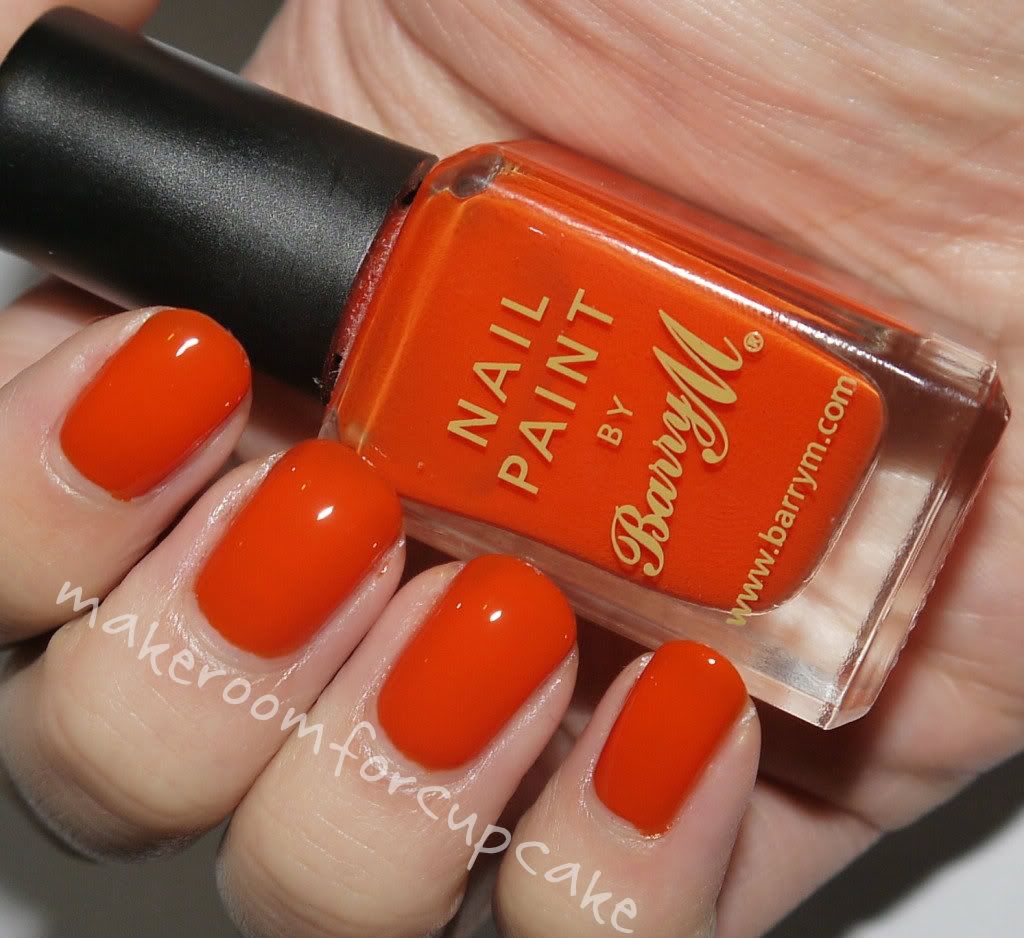
Your favourite orange nail polish. I'm using Barry M Block Orange
Your orange glitter
A shiny top coat
A rubber cuticle pusher or an orange stick
Piece of paper or kitchen towel
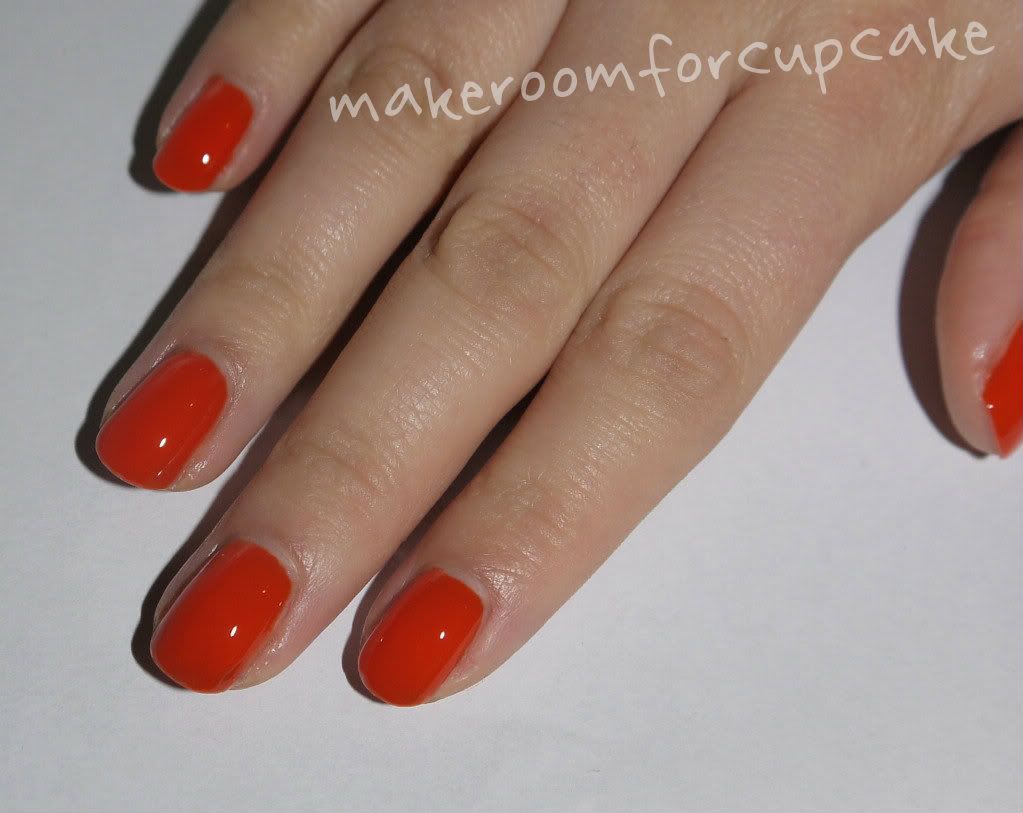
I started by applying my base coat (OPI natural base coat) and one coat my orange polish...
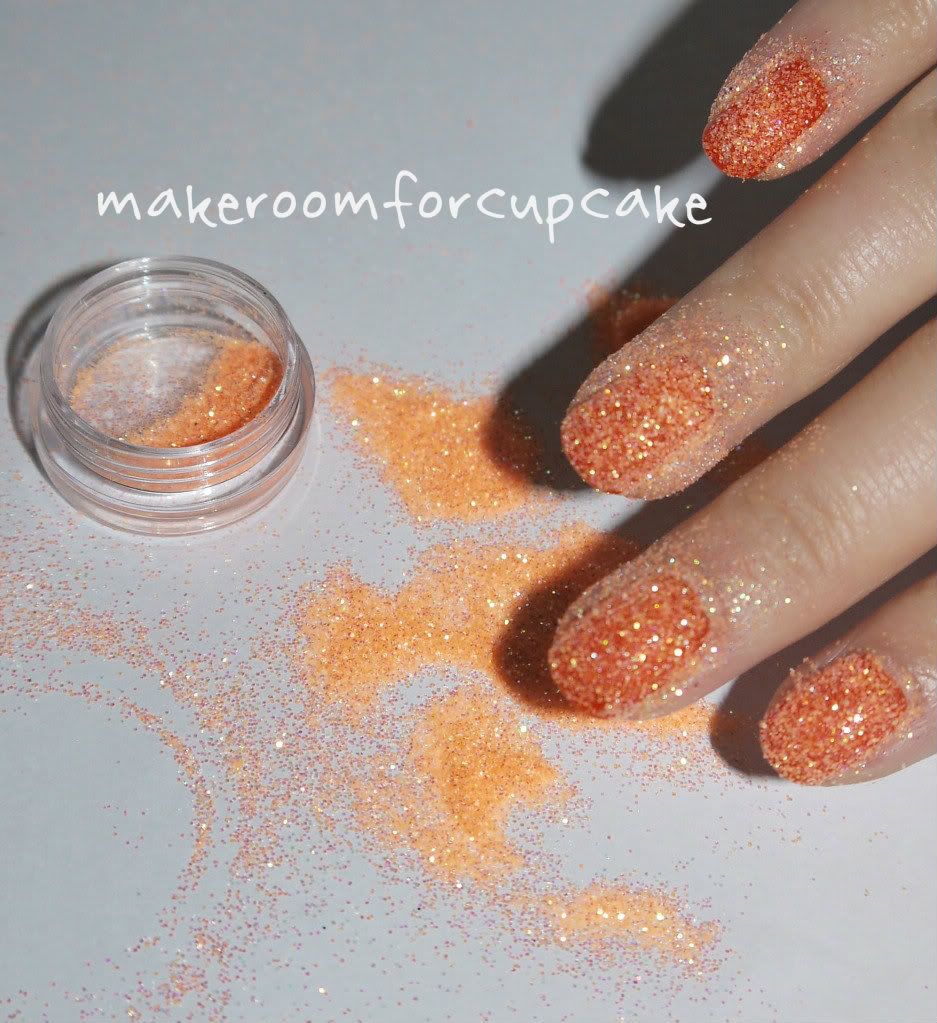
Place your hand over your paper or kitchen towel and apply your second coat of your chosen orange polish, wait 30 seconds for the polish to go a little tacky and pour over the glitter (this is where it gets a little messy).
Tap off any excess glitter, don't worry about any stray glitter pieces around your cuticles, we will tidy that up later. Pick up your paper by two opposite corners to make a funnel and pour the glitter back into its container and secure the lid.
Phew! thats the messy bit finished.
Allow the polish to dry, and using your cuticle pusher or orange stick tidy away any glitter on your cuticles. Apply 1 generous coat of top coat.
As you can see the glitter will still look gritty.
Wait a couple on minutes and apply a second layer of top coat. You can repeat this step as many times as you like/need to reduce the roughness of the glitter.
So there we have Orange Glitter Nails :)
xoxo
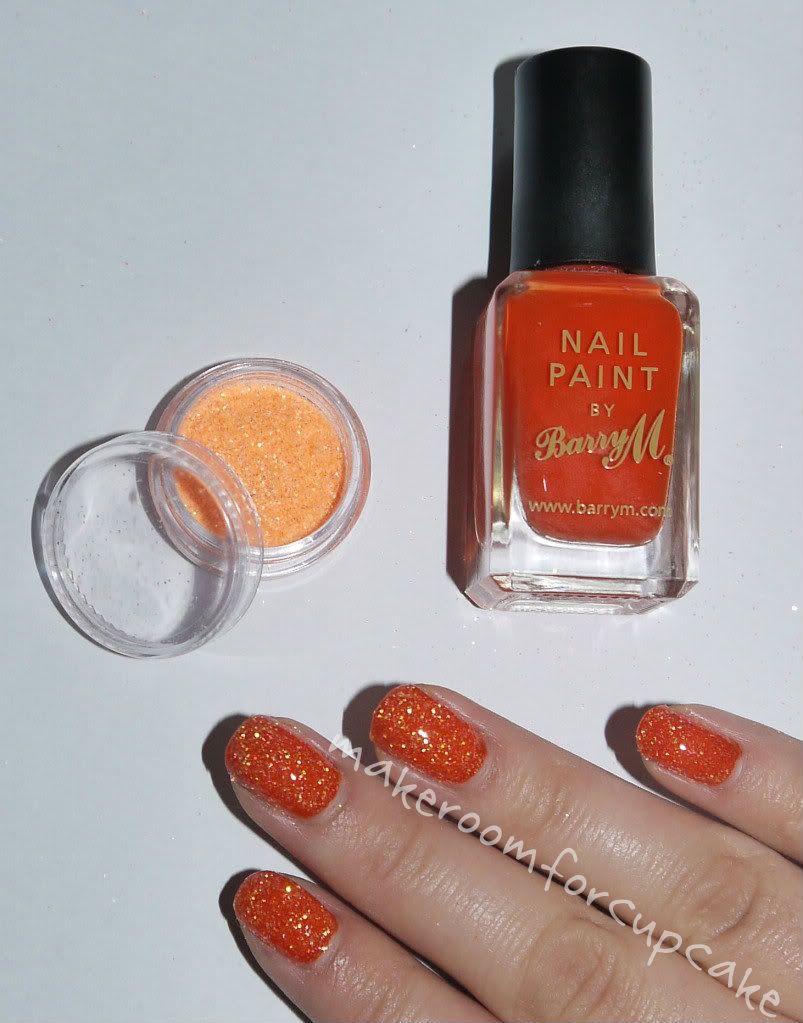
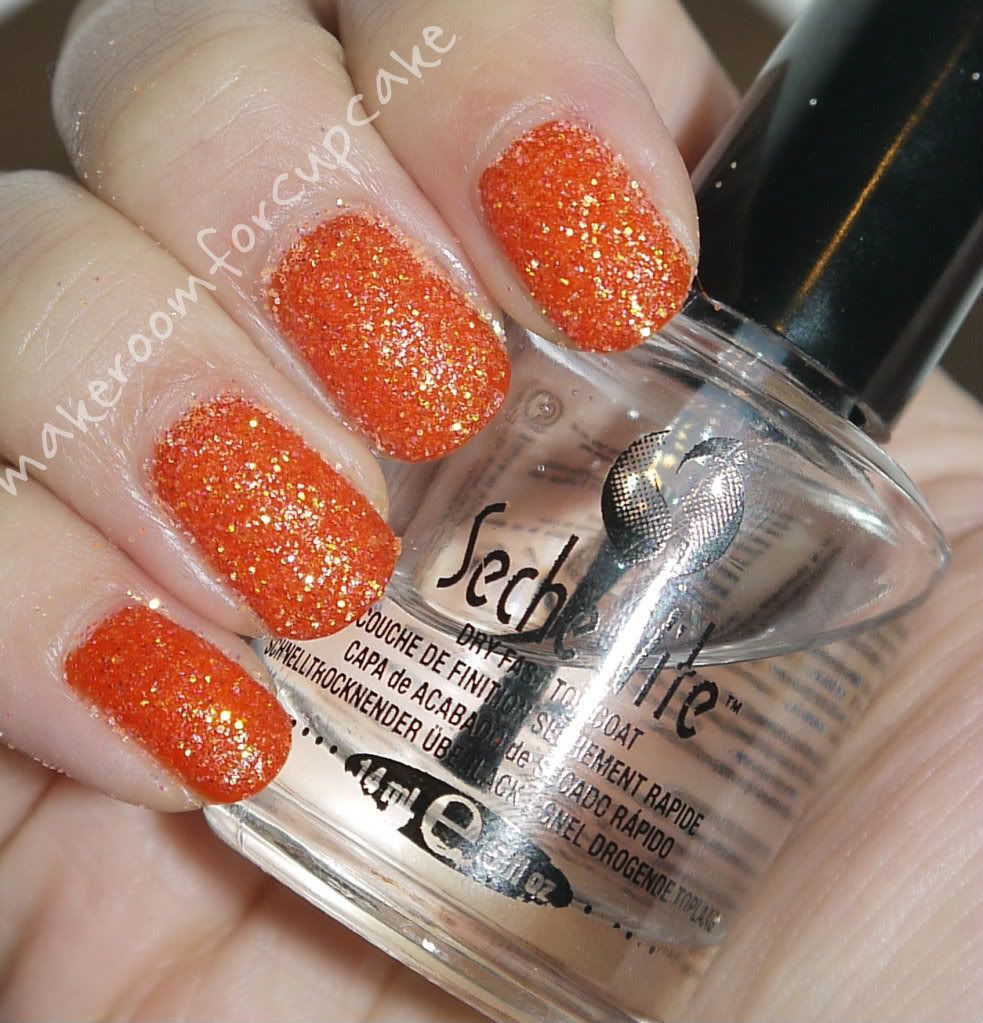
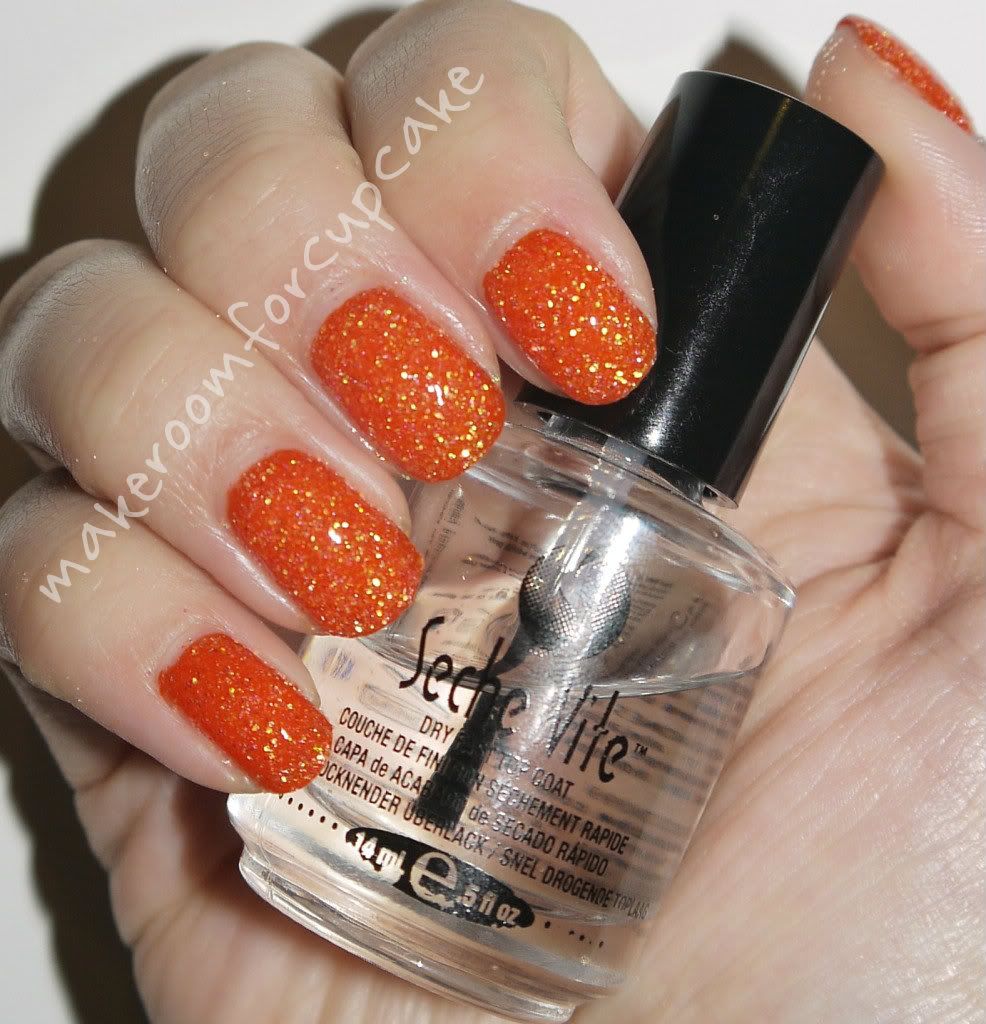
A beautiful end result for such a glittery mess :)
ReplyDeletethank you! the final result is worth all the mess
Deleteplus I now have a very glittery keyboard! very festive! lol
x
I love this idea, will be trying!! http://simplyjustnatalie.blogspot.co.uk/
ReplyDeleteLet me know how you get on!
Deletex